How to Make All-Butter Pie and Galette Dough By Hand
RECIPE UPDATED 7/4/25
Newsletter
Subscribe at the bottom of this page for the Chic Eats roundup. It includes new and updated recipes along with a grab bag of unique content that was interesting enough to share around the dinner table.
Quest
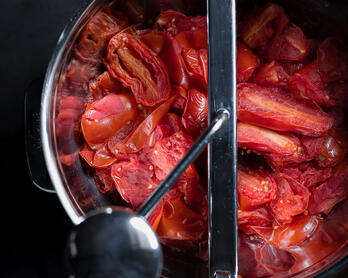
Last year Years ago, I set out on a quest to make consistently excellent pie and galette crust. It had to be flaky and fork-tender while also having enough structure for roasted butternut squash "pumpkin" pie and the juice explosion that is peach season. In terms of process, I wanted to skip any equipment and keep it simple with just a rolling pin, pastry scraper, and my counter. I also wanted to get away from the "add water until it comes together" instructions. Meticulously measuring grams of flour only to add an indeterminate amount of water doesn't work well for me nor does it make sense. Pastry is the scientific interplay of fat, gluten, and moisture so my technique needed to reflect that.
I was on a roll during the holidays and thought my successful Thanksgiving pie meant I had nailed the process. Visions of happy emojis danced in my head as I started to write this post. Then, my dough went off the rails. The subsequent galettes appeared golden and flaky but the texture was a little tough. At the time, I was still using the now abandoned vodka trick—explained further down in the post. After reading several comment threads out on the internet, it was clear that "all looks and no substance" was a common issue. I did a little more reading and watched some video tutorials to better understand the science behind my failed pie crust. After several experiments, things finally came together and I was able to create a reliable technique. I'm going to walk through much of what I learned and how I applied it to my galette and pie dough recipe. The instructions are quite specific since I was hoping to create a repeatable process for an amateur baker like myself.
As it turns out, Erik B. and Rakim were wrong. You should definitely sweat the technique.
Recipe Inspiration
I used Elisabeth Prueitt's galette recipe from Tartine as the springboard. Her ratios are elegant:
- 2oz water
- 4oz butter
- 6oz flour
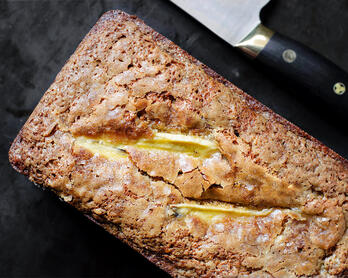
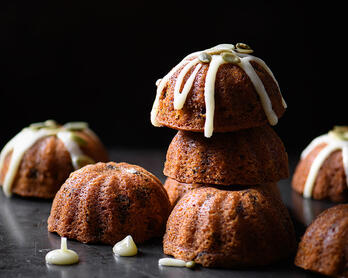
My ingredient ratios are similar and then I tweaked the method. I don't know more than Ms. Prueitt, not by a very long stretch, but this is the technique that works for me. Another great recipe from the Tartine cookbook is the Pumpkin Tea Cake that I posted about last year. I also recently made the croissants and...just read the book. It will be worth your while.

Flaky Considerations
Here are the factors I considered when troubleshooting my pie and galette crust:
- Tricks
- Feel
- Fat Size
- Gluten
- Temperature
- Hydration
- Overworking
- Patience (I never have enough.)
Tricks
There are a number of dough-making tricks out there and I've tried some of them. Vodka, for example, was an addition I actually liked about 50% of the time. That being said, it was too easy to overwork the dough with the extra moisture so I dropped that approach. Similar to my feelings about making and maintaining a sourdough starter, you don't need to employ anything fancy in the process. If you pay attention to your technique and ingredients, you will very likely be successful. It also helps to understand the "why" behind what you're doing.
Feel
Similar to baking bread, what you feel with your hands will tell you a lot about the development of the dough. When my mixture becomes gooey or sticky, either from too much liquid or the temperature being too warm, it's game over. The resulting pie or galette crust will always have tough spots. Finished dough is soft and shouldn't stick to your hands—it's a buttery unicorn. All of that said, I don't touch the dough more than is absolutely necessary so as to avoid warming the butter. The pastry scraper is my primary tool for moving the flour around.
Fat Size Matters
A high percentage of recipes suggest processing the flour and butter until you have uniform "pea-size" pieces. It wasn't until I found this series of videos that my approach started to change. Dawn Viola explained that not only do you want uneven pieces of fat, but the dough is already overworked if all the fat is pea-size. Around that same time, I made the galette recipe from Tartine and noticed that the technique didn't involve a food processor nor did it mention pea-size bits. That was the point at which I decided to ditch the equipment altogether.
Gluten
When baking bread, gluten is your best friend because it helps to build structure. The opposite is true for pastry dough. The goal is to invite as little gluten as possible to the party. I focused on three areas when assessing what part of my technique might be encouraging gluten development: temperature, moisture, and overworking the dough.
Temperature
One of the items on my Cooking Wishlist was laminated dough. While struggling to get my pie crust right, I was also reading about croissants. And what is the secret to croissants? Roll, chill, roll, chill, and repeat. Laminated dough and pie dough are different but the idea that you want the butter to stay cool is the same. If the butter melts, you'll lose your layers and the texture will become tough. Perhaps, I thought, if I chill the dough between steps it will eliminate any potential issues with warm butter and gluten development. Spoiler alert: It does.
Moisture
Moisture can be somewhat problematic when making pie or galette dough. Most recipes suggest adding a little water up to (but maybe less or more than) a specified amount until the dough "forms a cohesive mass". I don't care for this approach. Trying to hit the magic mark is tough and it's possible to overwork the mixture during the add/press/add/press process. At least half of the time I tried to guesstimate the water, my crust ended up being average. It's time to step away from the rubber spatula.
I recommend starting with the 2/4/6 ingredient ratio in this recipe since you will likely end up with very nice dough. That being said, if you're using different ingredients and struggling with dough that's too crumbly or wet, here are a few things to consider:
- Different brands of all-purpose flour have varying protein contents which can impact moisture absorption and crust texture. Gold Medal's unbleached all-purpose flour, for example, is lower in protein than King Arthur's and preferable for this recipe.
- Flour dries out as it ages. If you're using very old product, it's possible that 2oz of water won't be enough since the flour will be "thirstier" than expected.
- Lower-fat butter contains more water (see American vs European-style under "Additional Thoughts" below). Though the butter's water content shouldn't have a huge impact, it does play a role and can be considered when troubleshooting.
If the 2/4/6 ratio doesn't suit your ingredients and conditions, you may need to adjust the moisture up or down accordingly. Just be sure to measure along the way (I trust you're using a scale throughout this process) and write your final water amount down. If you keep your variables consistent, there shouldn't be any need to guesstimate the liquid amount again.
In terms of ambient humidity, some sites suggest that the impact is negligible when it comes to amount of water needed. For what it's worth, I've used my pie dough recipe on the west and east coasts in very different weather situations with identical results.
Overworking the Dough
Rolling the dough is necessary unless you plan to bake a buttery lump. Since the act of rolling develops gluten, I decided to press the butter into the flour in lieu of rolling during the initial dough-making process. This method flattens out the fat pieces and makes the mixture easier to work with. You're less likely to overwork the dough if you're not fighting with it.
Patience
Chilling between steps is necessary (mentioned above and explained further under "Instructions") and chilling overnight before the final roll is ideal. The final refrigeration period isn't only to keep the butter at the right temperature, but it also allows the flour time to hydrate which both makes the dough easier to roll and creates a better finished product. If you're in a hurry, I'd suggest refrigerating the dough for at least 2 hours.
Additional Thoughts
Butter
What do people mean when they say American vs European-style butter? Generally speaking, that distinction refers to fat content, with the latter tending to have a higher percentage (my preference). The second important quality is whether the butter is cultured—a distinction that can apply to both American and European brands. The Around the Dinner Table section in my Zuni Cafe Orange-Currant Scone post talks more about why that's relevant to flavor.
Here's an excerpt from that section:
As an ingredient for scones or pie dough, butter deserves special attention given the percentage it occupies in the overall recipe. These are the qualities I look for:
- Cultured - For the flavor.
- 82%+ Butterfat - Europe requires butter to have a minimum of 82% butterfat but 80% is allowed for salted blocks (in France at least). The United States requires 80% for all types. Butterfat above 82% can be luxurious on bread or vegetables, but the spread/structure of baked goods doesn't always benefit from more fat. You're probably not going to make cookies with 85% butter but that point still seems worth mentioning.
- Salted - For flavor and shelf life.
- French - From milk quality to processing, they take their butter seriously.
Here's the rundown of what circulates in my kitchen:
- Rodolphe Le Meunier // A respected French butter that's wrapped in flashy gold which does make me feel fancy.
- Isigny Sainte-Mère Salted // Has charming yellow packaging that could double for a bed & breakfast shower curtain. Tastes excellent with a wonderful mouthfeel.
- Frentel Salted Cultured // Gold and red packaging and it's the most frequently purchased these days. A lovely butter for everything.
- Vermont Creamery Cultured Salted // The American brand I occasionally use.
- Kerry Gold // When on the road with the Airstream, Kerry Gold is often the high-fat option I choose.
Going in the other direction (just to confuse things), the New York Times suggests that the higher water content in American butter may actually be better in terms of making a flaky pie crust. Having made dough with both American and higher-fat European-style butter, I'm firmly in the latter camp. This is also true when buttering my homemade sourdough bread. There's simply no comparison in terms of flavor. A good exercise is to buy a few brands and taste them side by side. You'll be surprised by how different they are. The long and the short of it—When making recipes with a high percentage of butter relative to the other ingredients (croissants, pie dough, etc.), use a quality product that appeals to your palate.
Additional resource: There's a chart here that compares the fat and moisture content for 15 commonly found brands.
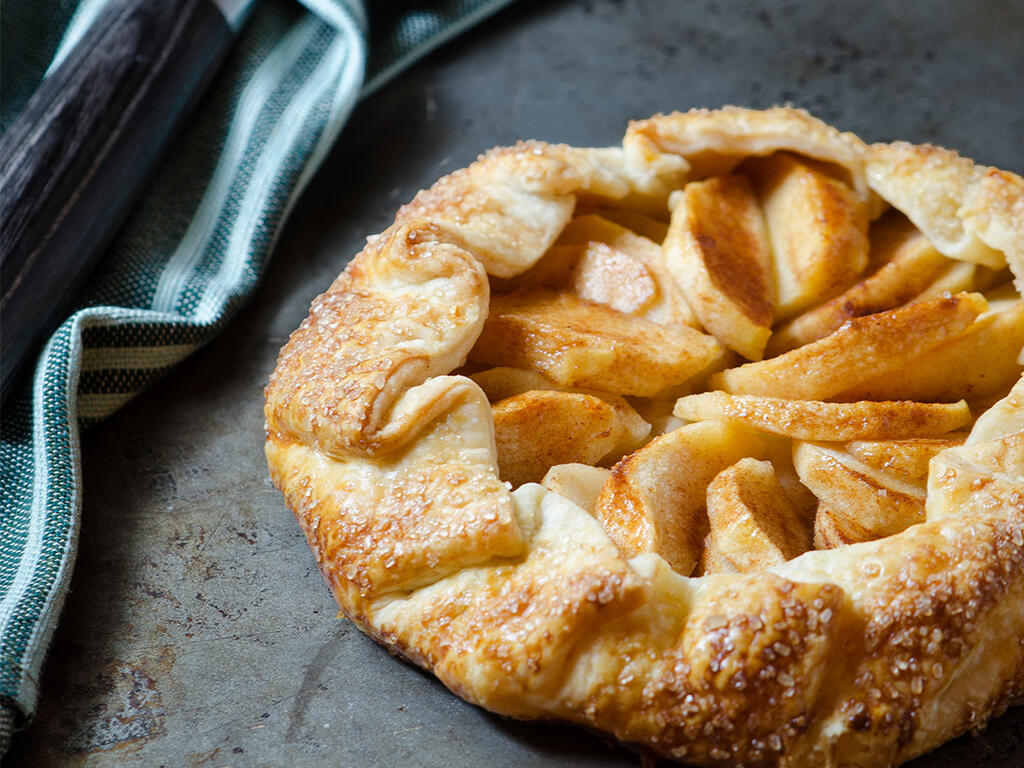
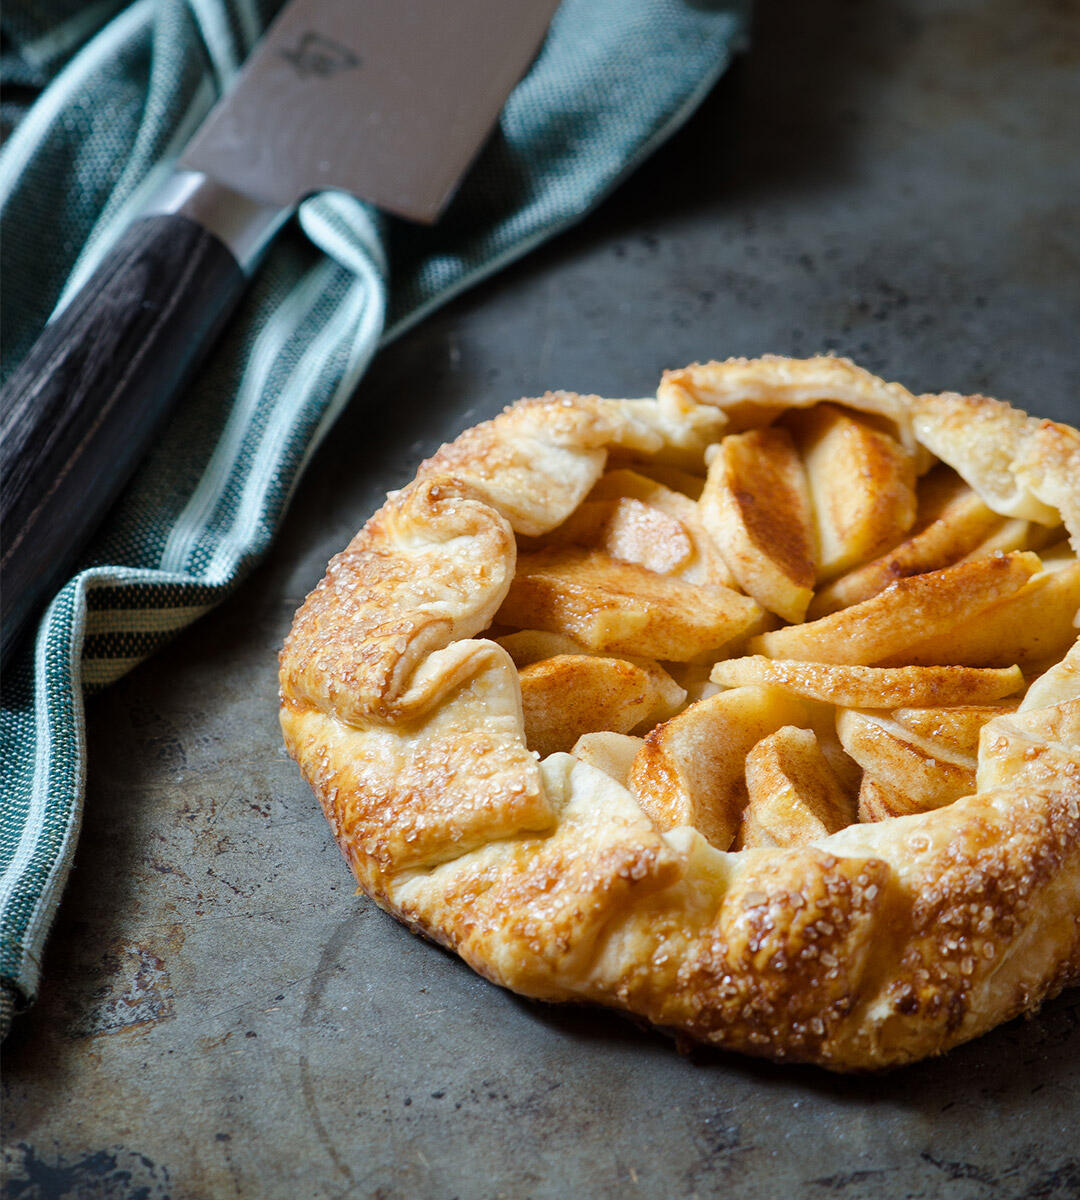
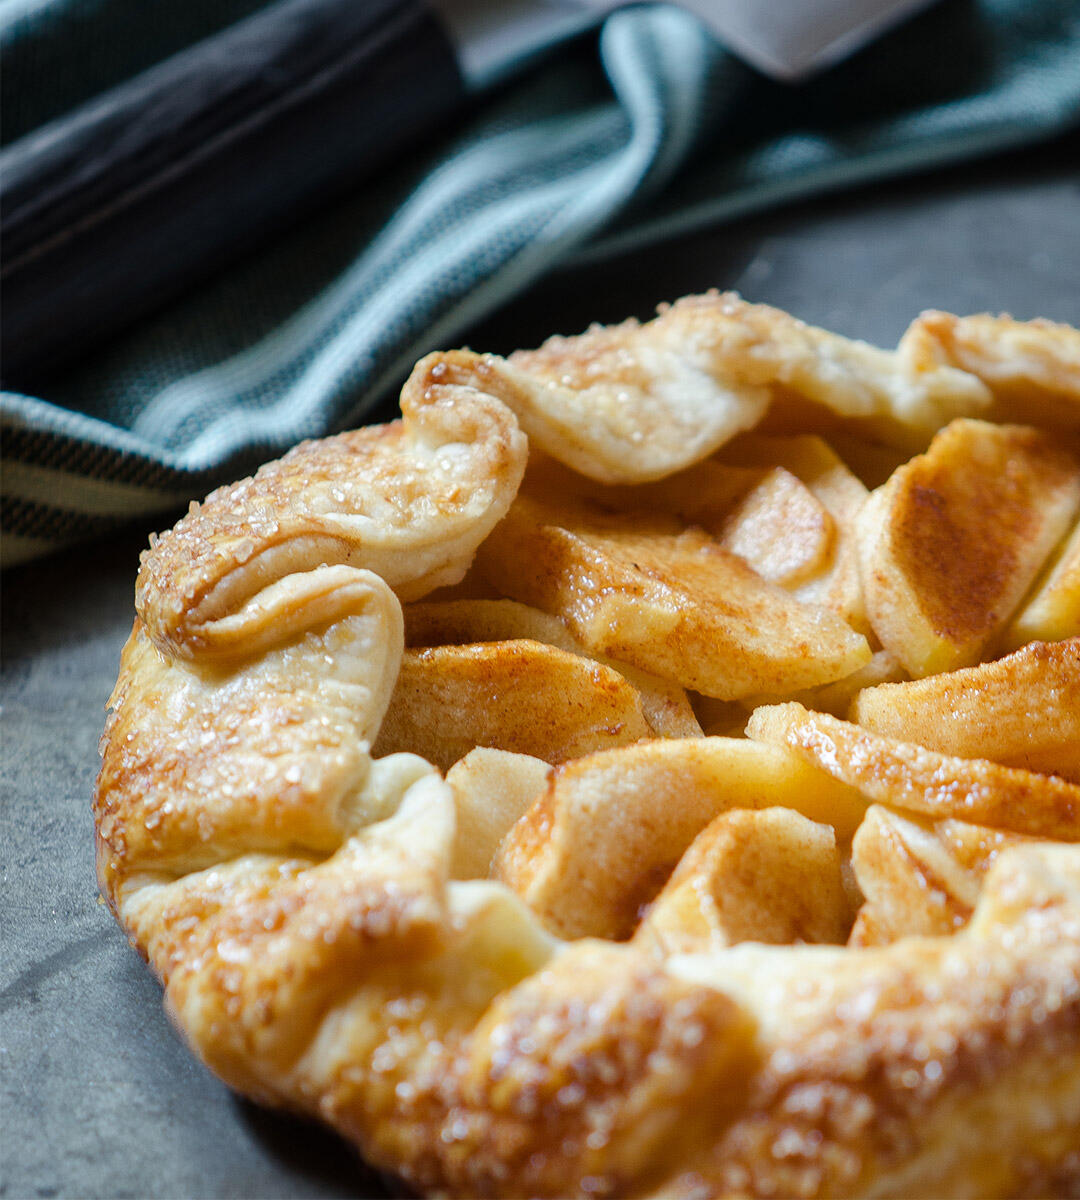
Edges
A galette is meant to be rustic so the shape doesn't have to be perfect. That being said, I trim around the edge with a pizza wheel before folding the sides in. The edges cook more evenly and I prefer the aesthetics. Chef's discretion.
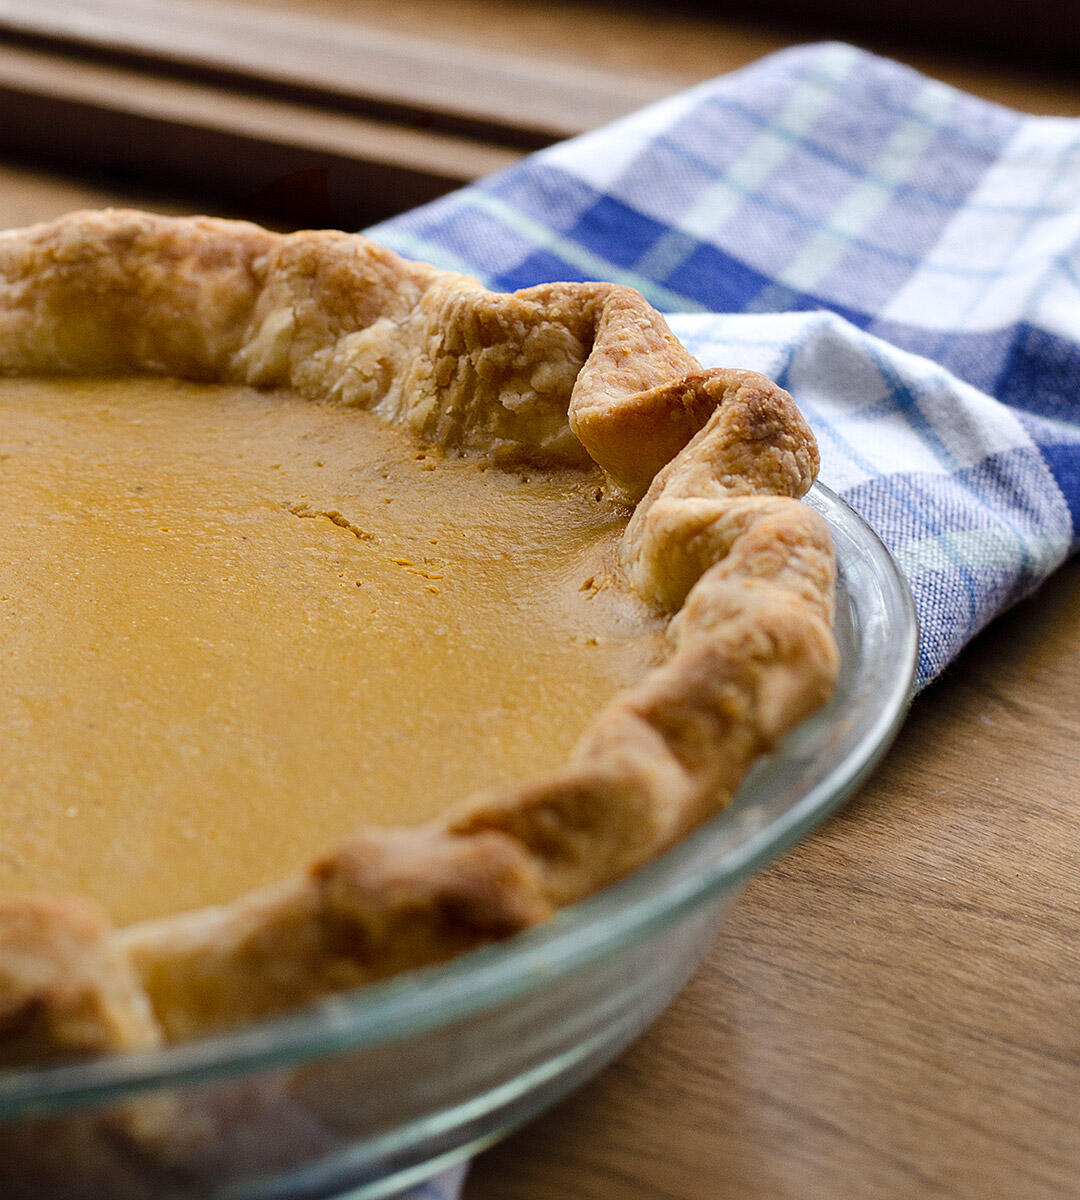
Pie and Galette Ready
I've used this recipe for a roasted butternut squash "pumpkin" pie and galette (though I tend to roll the dough a little thinner for galettes).
Final Note
You may get about 3/4 of the way through this process and think, "this isn't coming together, it's too crumbly". Don't be concerned. It isn't until the last couple of steps under "Roll and Fold" that the dough starts to look like something you might be able to make a pie with. Also, the texture of the ball will be lumpy and that's ok. The dough will become soft and beautiful when you roll it out for the pie shell.
Tools
- Scale
- Mesh Strainer
- Rolling Pin
- Pastry Scraper
- Pizza Wheel
Ingredients (makes 1 large galette, 2 small galettes, or one pie shell)
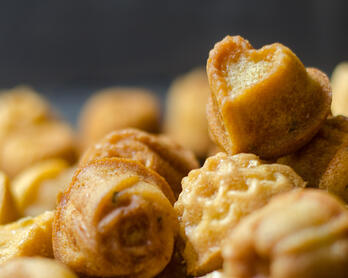
UPDATE: Adding this tip thanks to a reader's question. I have started making 1 1/4-1 1/2 times the recipe for my pumpkin pie because 1) I like to roll it a little thicker and 2) the additional dough allows for rolling errors. This is a very flaky dough so that is my recommendation if you feel concerned about the structure. Use the scraps for simple cinnamon sugar twists. For galettes, the thinner crust works great and will hold in the juices if the crust is chilled properly.
- 4 ounces (116 grams) butter Note: I use salted butter in
most baked goodseverything. - 2 ounces (60 grams) filtered water
- 1/2 teaspoon (1.4 grams) Diamond kosher salt
- 5 3/4 ounces (165 grams) Central Milling Beehive or all-purpose flour UPDATE: I recently swapped out about 20% of the white flour for whole grains and was happy with the results. No other adjustments are needed when subbing in a portion of whole wheat. Softer wheats such as Wit Wolkoring, spelt, or Sonora work well.
- (Optional) 1 tablespoon + 1 tsp (15 grams) fine Demerara or cane sugar Note: The dough works for savory or sweet dishes, hence the sugar being optional.
Instructions
Chill
- Cut the butter into 16 pieces and put in the freezer for 20 minutes. Note: If you’re using butter with a lower fat content (see "Additional Thoughts" above), cut the time down to 15 minutes. A higher water content can cause the butter to freeze faster and harder which makes it difficult to work with.
- Combine the salt and water, dissolve, then put in the freezer for 10 minutes to chill. Note: You want the water to be very cold. I use filtered water from the refrigerator and after chilling the temperature ends up at about 43°F.
Flatten and Roll
- Sift flour (and optional sugar) onto the counter with a fine mesh strainer. Dump any granules or bran flakes (if using whole grains) that get caught in the mesh back into the pile and whisk to combine.
- Add the chilled butter cubes to the flour and toss to coat, then shape the pile into a rectangle roughly 8 inches long (lengthwise away from your body). Flour your rolling pin.
- Using the rolling pin and starting at the end of the rectangle closest to your body (6 o'clock), press down firmly on the flour/butter mixture so that it begins to flatten out the fat pieces. After each pressing motion, move the rolling pin a little further away from your body (towards 12 o'clock) until you reach the end of the rectangle, then work your way back from 12 o'cock to 6 o'clock. Scrape the rolling pin as you go if some butter sticks.
- Scrape up the pile and form into another rectangle. Repeat the process two more times. The butter should be somewhat flattened out by the end of this step.
OPTIONAL - OBSERVE YOUR MIXTURE If the butter seems too soft or if you're starting to see butter smudges on the counter, gather the shaggy pile into a bowl and refrigerate for 15 minutes. High-fat butters tend to soften more quickly than butter that has a higher water content. I usually chill at this point but you may not need to based on your ingredients and ambient temperature.
- Form the shaggy pile into a rectangle roughly 8 inches long (lengthwise away from your body).
- Roll the rectangle away from your body. Scrape the flour/butter mixture up and form another rectangle. Roll away from your body again, scrape and shape, roll. A total of 3 times. The mixture will start to look layered though it will still be quite rough. Note: The mixture won't roll into a clean rectangle and a few of the butter pieces might hitch a ride on the rolling pin. That's perfectly fine. The goal is simply to flatten and elongate the fat pieces while layering the flour and fat.
Chill
- Scoop up the mixture into a bowl and refrigerate for 15 minutes. This chilling step is not optional.
Roll and Fold
- Dump the chilled flour/butter mixture back onto the counter, form a well, and pour the water into the center of the well.
- Use the pastry scraper to gently knock the sides of the well into the center so that it mixes with the water. Scrape and toss the mixture a few times until the water is distributed. Note: If the water escapes from the well, just scrape it up into the pile. Happens to me every time.
- Continuing with the pastry scraper, "chop" the flour mixture from 6 o'clock to 12 o'clock, then turn 90 degrees and go from 3 o'clock to 9 o'clock. You're not trying to make tiny bits of butter, just a rough chop.
- Form the flour mixture into a rectangle (lengthwise away from your body).
- Roll from 6 o'clock to 12 o'clock. Fold the top and bottom back to the center like a letter, turn the rectangle 90 degrees. Note: At this point the dough may still be a little crumbly and might not adhere perfectly on the first and sometimes second pass. Not to worry. Do your best with the “folding”. By the 3rd pass you should have cohesive dough. The scraping and folding action helps incorporate the dry bits that often settle on the bottom.
- Roll from 6 o'clock to 12 o'clock. Fold the top and bottom back to the center like a letter, turn the rectangle 90 degrees
- Roll from 6 o'clock to 12 o'clock. Fold the top and bottom back to the center like a letter, turn the rectangle 90 degrees. This will make a total of three times.
Chill
- Press into a flat disc, wrap tightly in plastic, and refrigerate for several hours -- preferably overnight. Note: If making galettes, cut into whatever sizes you need before wrapping.
To be a broken record, if at any point in the above steps you feel the dough getting sticky or greasy (aside from when you first add the water), put it in the refrigerator for 15 minutes. Like laminated dough, the key is for everything and everybody to be chill.
Newsletter
Subscribe at the bottom of this page for the Chic Eats roundup. It includes new and updated recipes along with a grab bag of unique content that was interesting enough to share around the dinner table.
Shutterbug
If you make this recipe, feel free to post your photos in the comments.