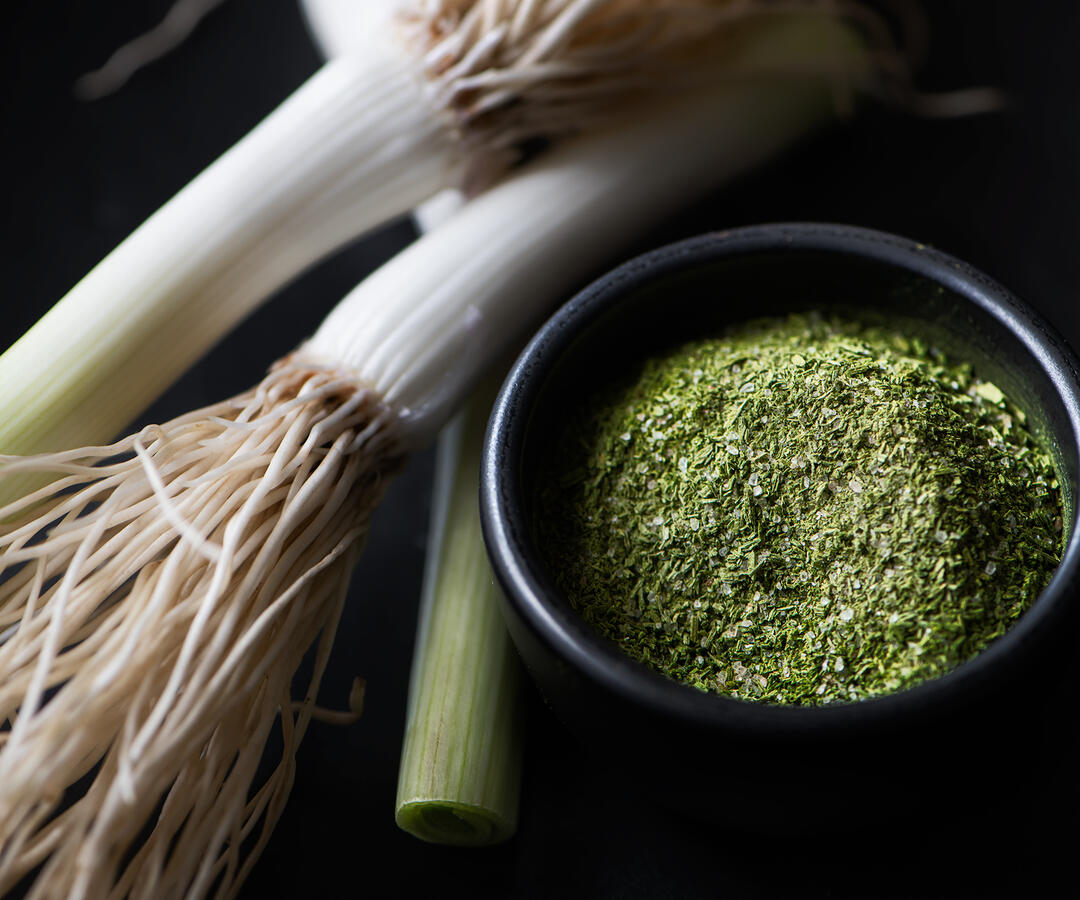
Green Garlic Salt
"Hidden Larder" refers to components made with ingredients that are frequently discarded despite being delicious in their own right.
One of the many things I enjoy about food is how ideas can float across your path and introduce an unexpected detour. Such was the case when I ended up with two hidden larder gems: flavored salt or butter made with spring garlic greens. I was initially going to put both recipes in this post but that ended up being clunky plus the butter needs a tweak so...coming soon.
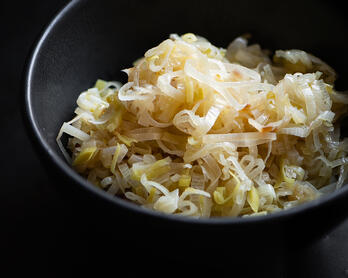
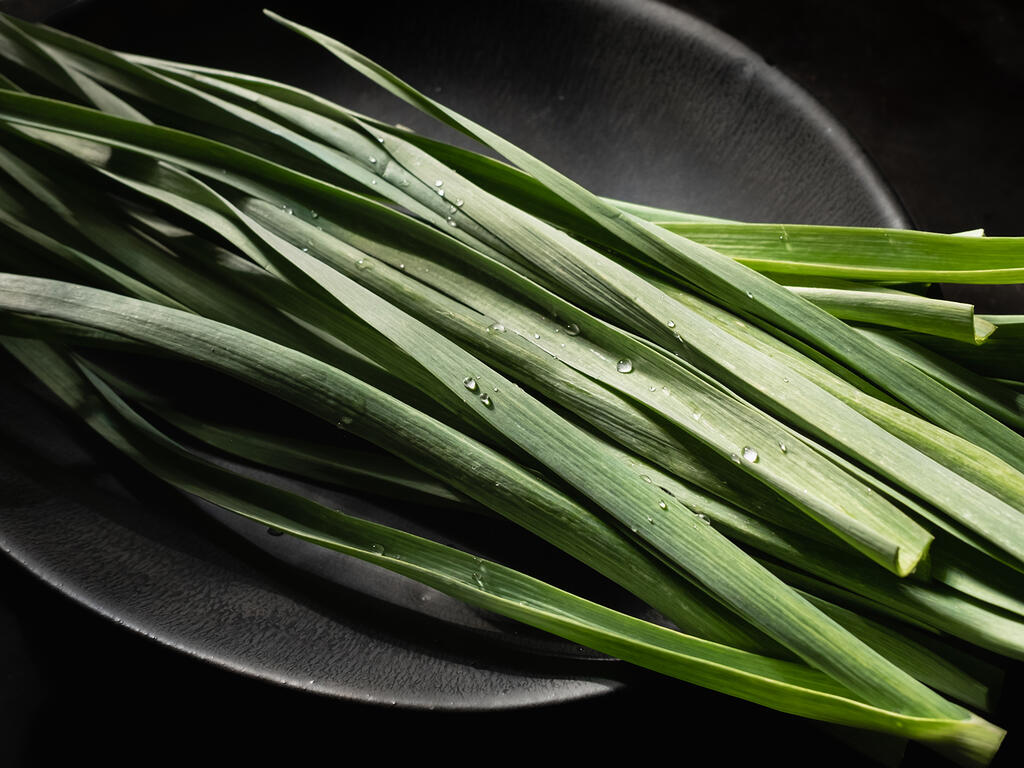
Inspiration to experiment with the greens came indirectly from one of Gillian Ferguson's segments on the Market Report. Chanterelles were the produce of the moment and the dish being discussed involved bathing said mushrooms in a green garlic butter sauce. Bathing things in butter is generally advisable so I picked up both ingredients the following week to see what I could make of them. I sautéed the mushrooms and garlic bulbs for a cheesy pasta -- adult mac & cheese -- and then found myself left with a fragrant pile of greens that wanted a second life (pictured above). Chanterelles have long outlived their short season on account of the parade of atmospheric rivers passing through California so some stands still has them available.
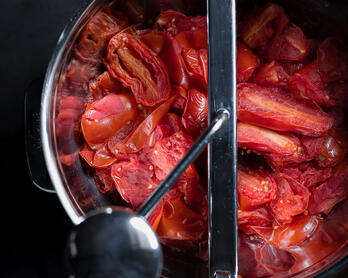
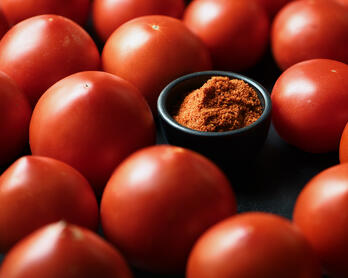
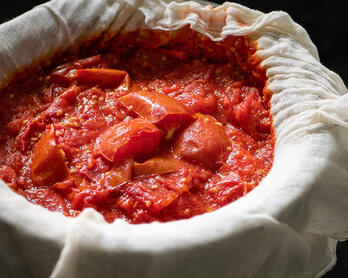
One of the simplest ways to upcycle aromatic odds and ends (aside from adding them to stock) is by making salt. It's the same easy method I use for tomato skins and requires nothing more than an oven, baking sheet, and a little grinding. Of my modest flavored salt endeavors, using green garlic tops is a true standout second only to celery leaves.
It took me a couple of batches to put a finger on exactly what was so wonderful about the salt. "Sweet umami" was the best I could do until one night while huffing the dried greens it hit me -- roasted garlic. There's some food alchemy at play that I'm unable to explain, but the smell and taste is distinctly of caramelized garlic cloves. It's simultaneously confusing and delightful which, frankly, is a first-rate mental state.
Spring garlic salt is endlessly versatile and a little goes a long way. Sprinkle it on all the things.

Dried Green Garlic Tops
I'm quite taken by how stunning dried greens are -- leek tops, spring garlic greens (above), and celery leaves to name a few. In the right light they're iridescent, though I suppose many things are unexpectedly beautiful when you seek out their best side.
Around the Dinner Table
It's Not Easy Being Green
A grower once shared with me his displeasure with the term "green garlic". He couldn't understand why people called it green when it simply wasn't. I can't shake his passion for semantics and he has a point as the small nub of garlic is white. "Spring garlic" also seems to be acceptable though I don't make the rules.
Bone Dry
I initially used "bone dry" further down in the post but then paused and thought, wait, bones are in the body and the body is full of fluid so what exactly is the etymology of that phrase? Tell me internet...
In his 1830 book, The Vocabulary of East Anglia (the full title is much longer), Robert Forby offered the following definition,
BONE-DRY, adj. perfectly dry; as dry as a bone long bleached in the weather.
There are older references to the phrase going back to the 1500s and even earlier in some religious texts -- they all seem to be referring to bones that have been desiccated by the merciless sun. It's certainly an effective literary device and I appreciate the knowledge (but not necessarily the visual) so "bone dry" was ultimately left on the cutting room floor. Including this useless fact seems to defeat the purpose of leaving the phrase out of the instructions.
Recipe Tips
Freshness
I recommend oven drying the greens soon after buying them -- at least within a couple of days. They can get a touch stale/funky sitting in the refrigerator and then you end up concentrating the funk during the dehydrating process. I usually dry them while I'm unpacking my farmers market bags since there's not much to do other than check on the progress from time to time while hustling about.
One Person's Hassle Is Another's Zen
The only fussy part when drying greens is getting them to lay flat. That said, consider the 5-ish minutes that it takes to be a relaxation break. Once the greens warm up in the oven they're pliable and the texture is akin to a silky worry stone. Just get into the zone: unfold the green, run your finger down the center to flatten while appreciating the smooth surface, gently arrange on the baking sheet, inhale the aromas, repeat -- feel rejuvenated and revitalized.
Farmers | Artisans
I make an effort to source my food from California artisans with a special focus on the Santa Monica Farmers Market. Below is a list of the folks who contributed to this dish.
- Windrose Farm // Spring Garlic
- Coleman Family Farms // Spring Garlic
- Schaner Farms // Spring Garlic
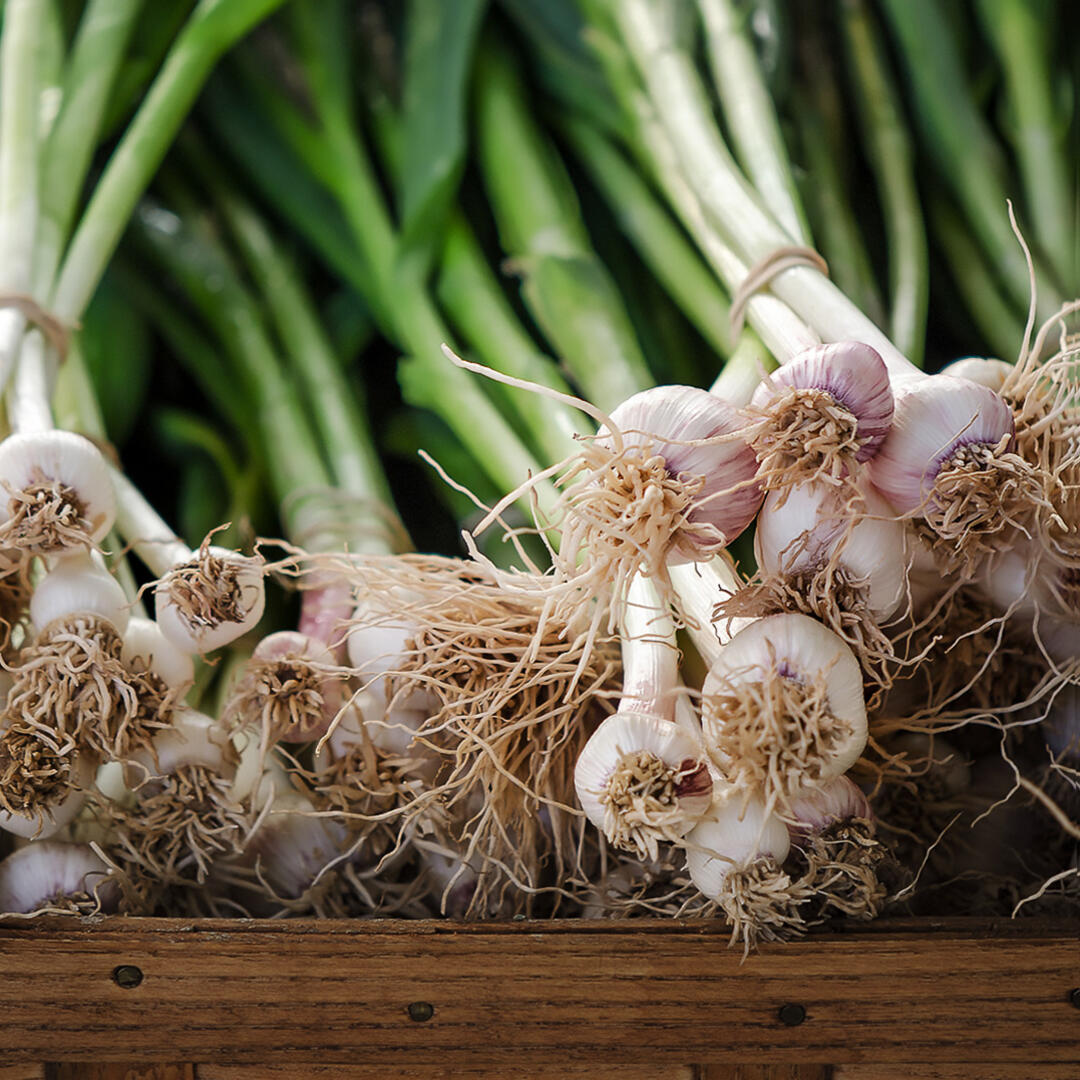
Schaner Farms Green Garlic (aka Spring or Young Garlic) - Santa Monica Farmers Market
Tools
- Spice Grinder - Grinding whole spices offers a big flavor payoff for relatively little effort. I eventually bought two grinders, one for sweet or neutral ingredients (mainly sugar and oats) and the other for savory. This model gets the job done and is easy to clean and store.
My Favorite Cooking Tools - Spotlights the kitchen equipment I've owned and used for years from bread baking to coffee brewing.
Ingredients
- 1 bunch green garlic (aka young or spring) Note: An average-size bunch of spring garlic has been yielding about 3 ounces of greens which spreads neatly across two baking sheets.
- Pink Himalayan or Diamond kosher salt
Instructions
Wash & Dry
- Wash the greens, separate all of the stalks, then lay in a single layer and pat dry. Doing this first allows the greens to have some air drying time while the oven warms up.
- Heat the oven to 175°F/80°C. While that's working, line two baking sheets with foil. Note: I've also dried the greens at 200°F/93°C if that's the lowest setting that you have. Not sure if there's much of a difference other than one being a little faster.
- Arrange the greens in a single layer across both pans to avoid crowding. Don't worry if several of the stalks are folded in half at this point since that will resolve in the next step.
- Place the baking sheets in the oven and set a timer for 7 minutes. Once the time is expired, take the pans out and you'll notice that the greens are pliable. This is the point that you should have your 5-minute relaxation session and get everything to lay flat. See Recipe Tips.
- Continue to bake, periodically rotating the pans and checking on the progress, maybe every 15 minutes. You don't have to do anything other than that until the greens are dry squiggly sticks that easily snap and crumble between your fingers (see photo above). This takes about an hour. Note: Be sure to feel all the dried greens as there's often one or two that aren't quite crispy. After turning the oven off, I'll let any stragglers hang out in the residual heat and that takes care of any stubborn moisture.
Grind & Blend
I use a 1:2 blend of greens to salt and find it works well for cooking.
- Grind the dried greens in a spice grinder or mortar & pestle.
- Once the greens are sufficiently broken down, you can simply stir them together with the salt in a 1:2 ratio (1 part greens:2 parts salt) or grind the salt and greens a little to make the mixture more cohesive depending on your salt crystal size. Note: The salt can become unpleasantly powdery when it's processed too much so watch out for that, especially in a spice grinder.
- Store in an airtight container and sprinkle on everything.
Newsletter
Subscribe at the bottom of this page for the Chic Eats roundup. It includes new and updated recipes along with a grab bag of unique content that was interesting enough to share around the dinner table.