Homemade Charcoal Wheat Pasta Dough
Making pasta is the ultimate in food therapy. The rhythmic process gently focuses your brain while it simultaneously empties out the clutter, and at the end of it all there are carbs on your plate. Similar to naturally-leavened bread, you only need a few ingredients to create something delicious and worthy of an enthusiastic "I made that!" pat on the back.
But before I go any further, please don't look at the ensuing word avalanche and think that scratch pasta is complicated. It's not - it's actually very easy. That being said, I like understanding how the components in a recipe fit together since it makes me a better cook. What I've found through trial and error is that there's not a "right" formula for pasta dough, but rather there's a "right" formula for your taste and the shape of pasta that you plan to make. Do you like melt-in-your mouth noodles or a bit more chewiness? Are you shaping garganelli or rolling out tissue-thin ravioli? These are all considerations when choosing your dough recipe.
Pasta-making is a craft that I have yet to master so there's still a long and noodly journey ahead, but I regularly make the whole wheat pasta in this post and felt it was ready for prime time. Included are step-by-step photos and instructions, musings on salt, as well as some tips on how water, egg yolks, and egg whites impact the texture of your pasta.
Uses
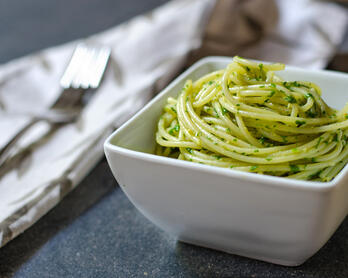
I use this dough primarily for garganelli since it holds a nice shape and has a slightly firmer texture, but you could absolutely use it for other pasta types such as long noodles or ravioli.
The Great Salt Debate
Spoiler alert: I don't add salt to my pasta dough. Explanation follows.
Traditionalists will say that you should only salt the cooking water and never the pasta dough. I appreciate tradition but am more interested in the science on this one. As a naturally-leavened bread baker, I've learned that salt's role goes beyond flavor. From a chemistry standpoint, salt impacts factors such as hydration, gluten development, and fermentation (the latter not being relevant here). After some Googling, I found several reputable publications that suggested adding salt to pasta dough doesn't make a noticeable difference other than changing the flavor. Alternatively, I found articles explaining how salt impacts gluten development in two phases - first negatively, then positively. The suggestion was that pasta has a shorter development window which doesn't allow the second positive phase to fully kick in. Hmm.
I went back to my cookbooks and noted that most of the chefs didn't add salt to their pasta dough. Then I stumbled across a Reddit thread in which several people including Kenji López-Alt articulate why salt isn't desirable. (Kenji is the food science master at Serious Eats.) For the home cook, and by home cook I mean for the person who isn't going to knead their dough in a machine for 45 minutes, leaving out the salt seems like a sound scientific decision. Plus, Chef Nancy Silverton runs one of my favorite restaurants, Mozza, and they serve truly incredible pasta. The Mozza Cookbook doesn't include salt in the dough. If Nancy doesn't use salt, I don't use salt. Follow the leader would have been a much easier explanation for this section.
Recipe Tips
How do egg yolks, egg whites, and water impact the texture of pasta dough?
The following is what I use a cheat sheet:
- Flour + Water = A stiffer dough that works well for shapes such as pici and orecchiette. The resulting pasta will have more chew as compared to pasta made with eggs.
- Flour + Whole Eggs = What you see in most traditional pasta dough recipes. The resulting texture is softer than flour + water but stiffer than using only egg yolks. It's a good all-purpose dough for ravioli or long noodles.
- Flour + Egg Yolks = The richest and most tender of the dough recipes and is good for ravioli or long hand-cut noodles.
The recipe in this post is egg yolks + water so...none of the above. That being said, here's how my recipe breaks down as it relates to the cheat sheet:
- Water = A firmer dough.
- Charcoal Wheat = A firmer dough and adds texture.
- Egg Yolks = Makes a more tender dough and adds richness.
- "00" Flour = A more tender dough.
You can see how the ingredients balance each other out resulting in a pasta that has delicate chewiness. The dough recipe in the Roberta's cookbook also uses a mixture of egg yolks and water, but leaves out the whole wheat and only uses "00" flour (which is finely milled) making that dough less firm than mine. You're almost always going to end up with something edible so don't be shy when it comes to experimenting - it's fun to toggle the dials.
How much water should I add?
Less than you think. If you look at the series of photos below, no water was added from images 6 to 10 (counting left to right by row). Flour takes its time when it comes to hydrating. Another example of pasta dough's transformation: note how dry the dough is when this Italian grandmother stops adding eggs/water, and then several minutes later the dough looks like this. If you watch the full 3-4 minute segment (from about minutes 4 to 7), you'll notice how she slowly incorporates the dry flour into the ball by flipping and pressing the pile. Now, if you find that your dough simply won't come together and those dry bits of flour are still hanging around, then you probably need a little more water. That's when I wet my hands a few times to finish things off.
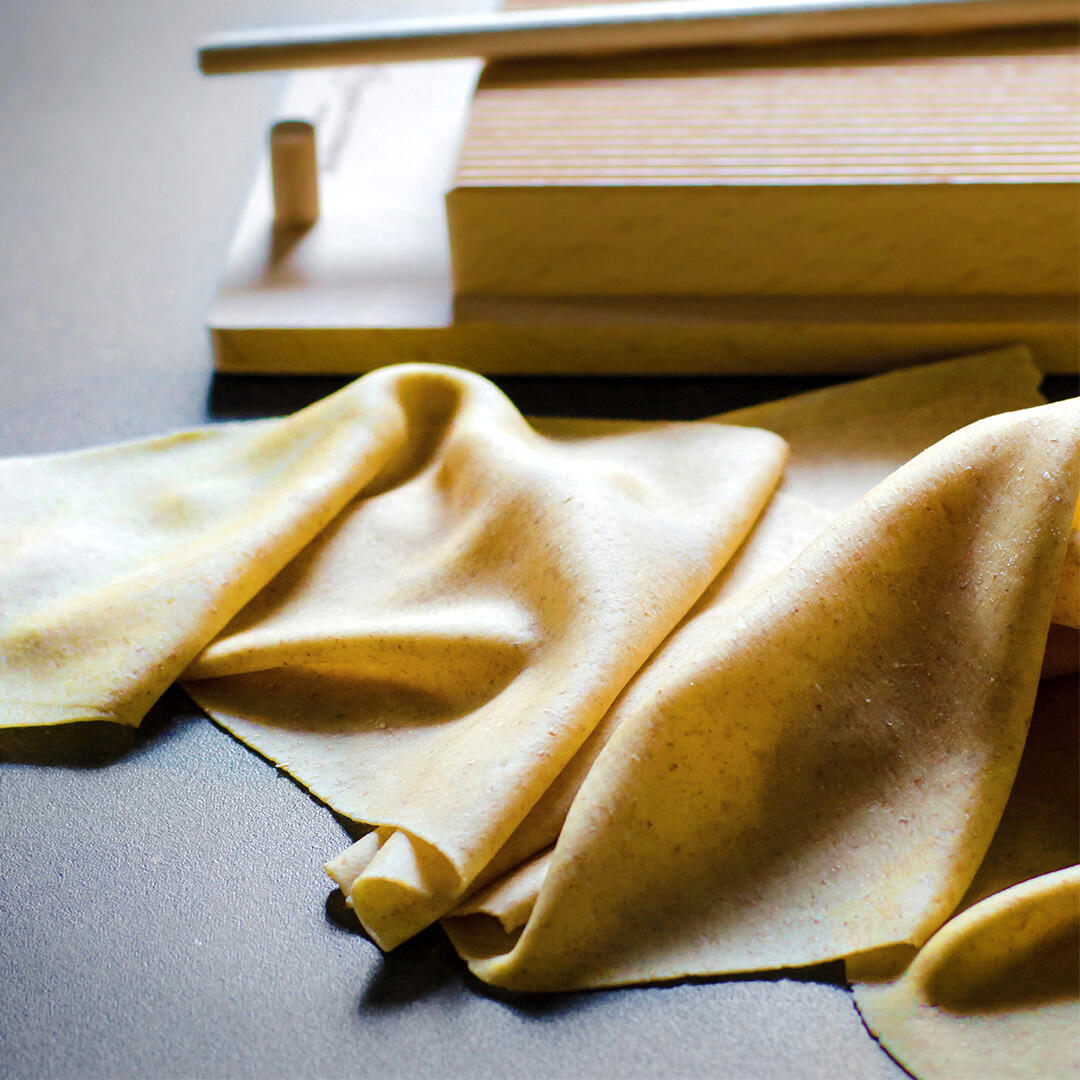
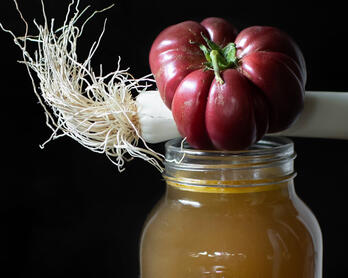
Charcoal Wheat
Speaking of hydration, this variety of wheat is very thirsty so I use the full 120 grams of water. It's possible that you won't need all of the liquid specified in the recipe depending on what your flour wants. The instructions and pictures will walk you through making that assessment. And if you want to order a truly excellent product or happen to be in the Los Angeles area (the shop is in Pasadena), Grist & Toll's charcoal wheat is something special for both pasta and bread. The nutty and chocolaty notes take bolognese and even a simple Pomodoro Sauce to the next level.
Kneading Technique
You want to fold, press, push, and roll the dough but you don't want it to tear on the outside. Some recipes suggest pushing the dough away from your body, but I've found that stiffer dough (such as the one in this post) tears when I do that too aggressively. Check out this video for an example of the roll and push approach to kneading. Also, notice how the dough looks when Chef Evan Funke cuts it in half. It's a quick shot, but you can see how homogeneous the texture looks. My charcoal wheat recipe is a bit dryer than his but the video is still a helpful point of reference. Ultimately, developing a personal kneading style is why pasta making is so fun and therapeutic.
Farmers | Artisans
I make an effort to source my food from local California artisans with a special focus on the Santa Monica Farmers Market. Below is a list of the folks who contributed to this dish.
- Grist & Toll / Charcoal Wheat
- Omma's Garden and Schaner Farms / Eggs
Tools
- Mini Measuring Cup (or here) / This little guy is so loved that I bought a second one. Great for pasta, dressing, Scratch Margaritas, and more.
- Scale / I've owned this scale for many years and would buy another one if it ever went to measuring tool heaven.
- Pastry Scraper (or here)
- Whisk (or here)
Ingredients
- 110 grams charcoal wheat or whole wheat flour of your choosing
- 240 grams "00" flour
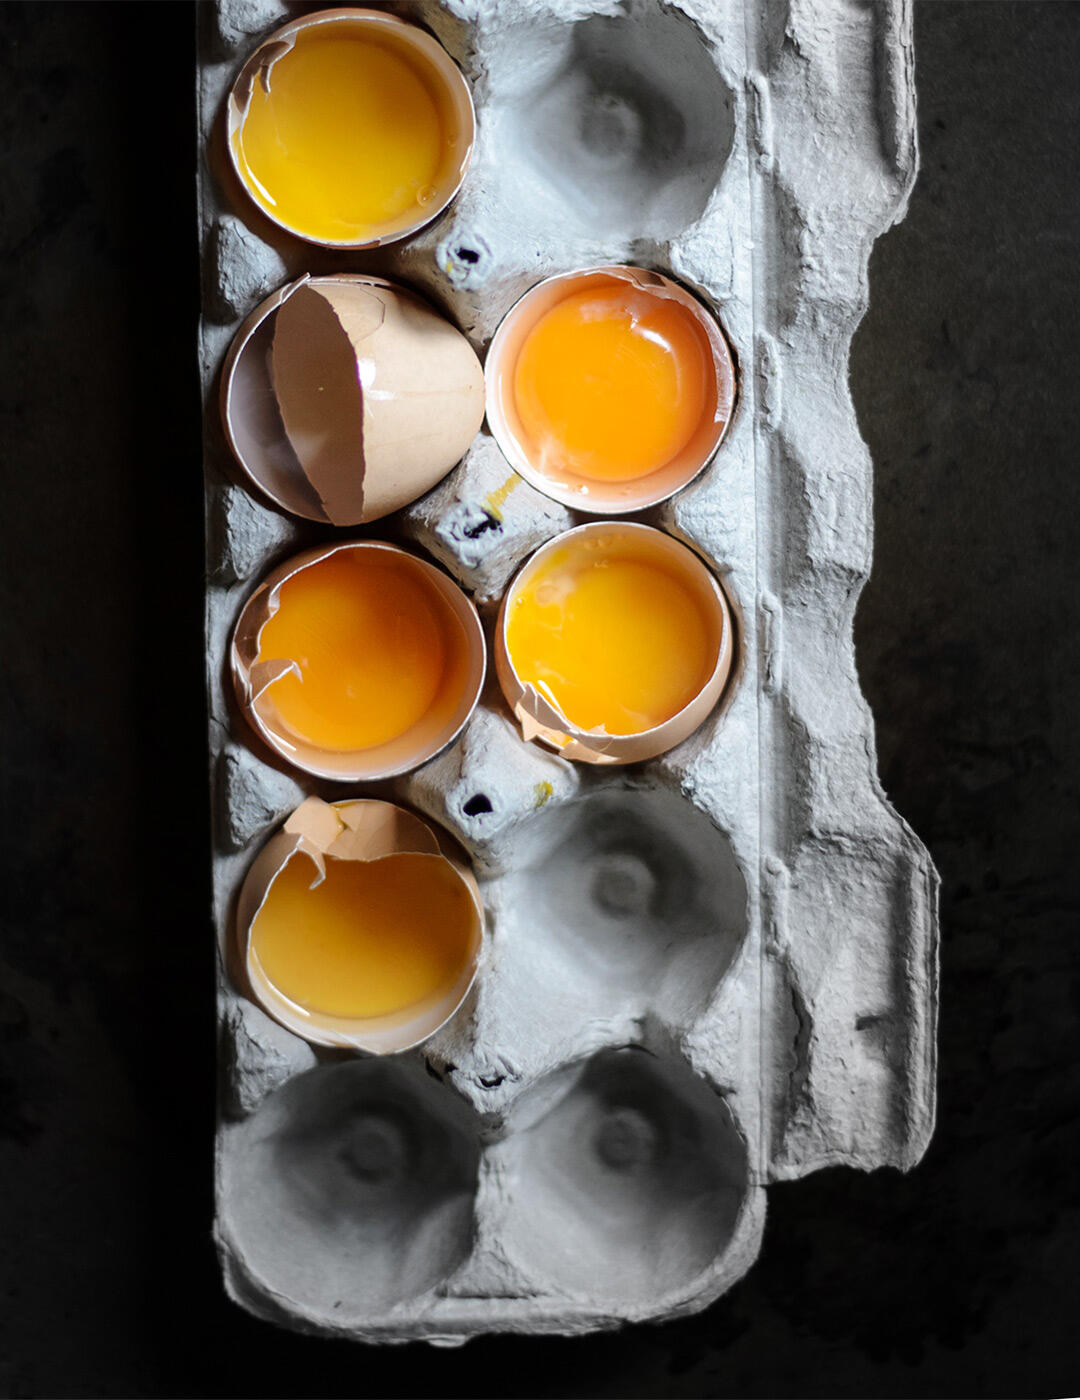
- 80 grams of egg yolks (about 4)
- 120 grams (8 tablespoons or 1/2 cup) filtered water
Instructions
Timing Breakdown (Detailed Instructions Below the Photos)
It takes me 17-20 minutes from when I measure the flour to when the dough goes into the refrigerator for a rest. Here's a sample breakdown from the other Sunday:
- 12:00 p.m. Measure, then add egg yolks and water.
- 12:07 p.m. Dough is cohesive and the kneading begins.
- 12:20 p.m. Dough is wrapped and goes into the fridge for 30 minutes to 1 hour.
- 1:20 p.m. Rolling begins. When making garganelli (featured in an upcoming post) it takes me approximately 12 minutes to roll and shape 1 of the 6 sections of dough so processing the entire ball takes roughly an hour and fifteen minutes. If you simply roll the dough and slice it into long noodles this will go much faster.
- 2:30 p.m. (approximately) Shaped dough goes into the fridge for at least 3 hours.
- 6:30 p.m. (or thereabouts) Cook!
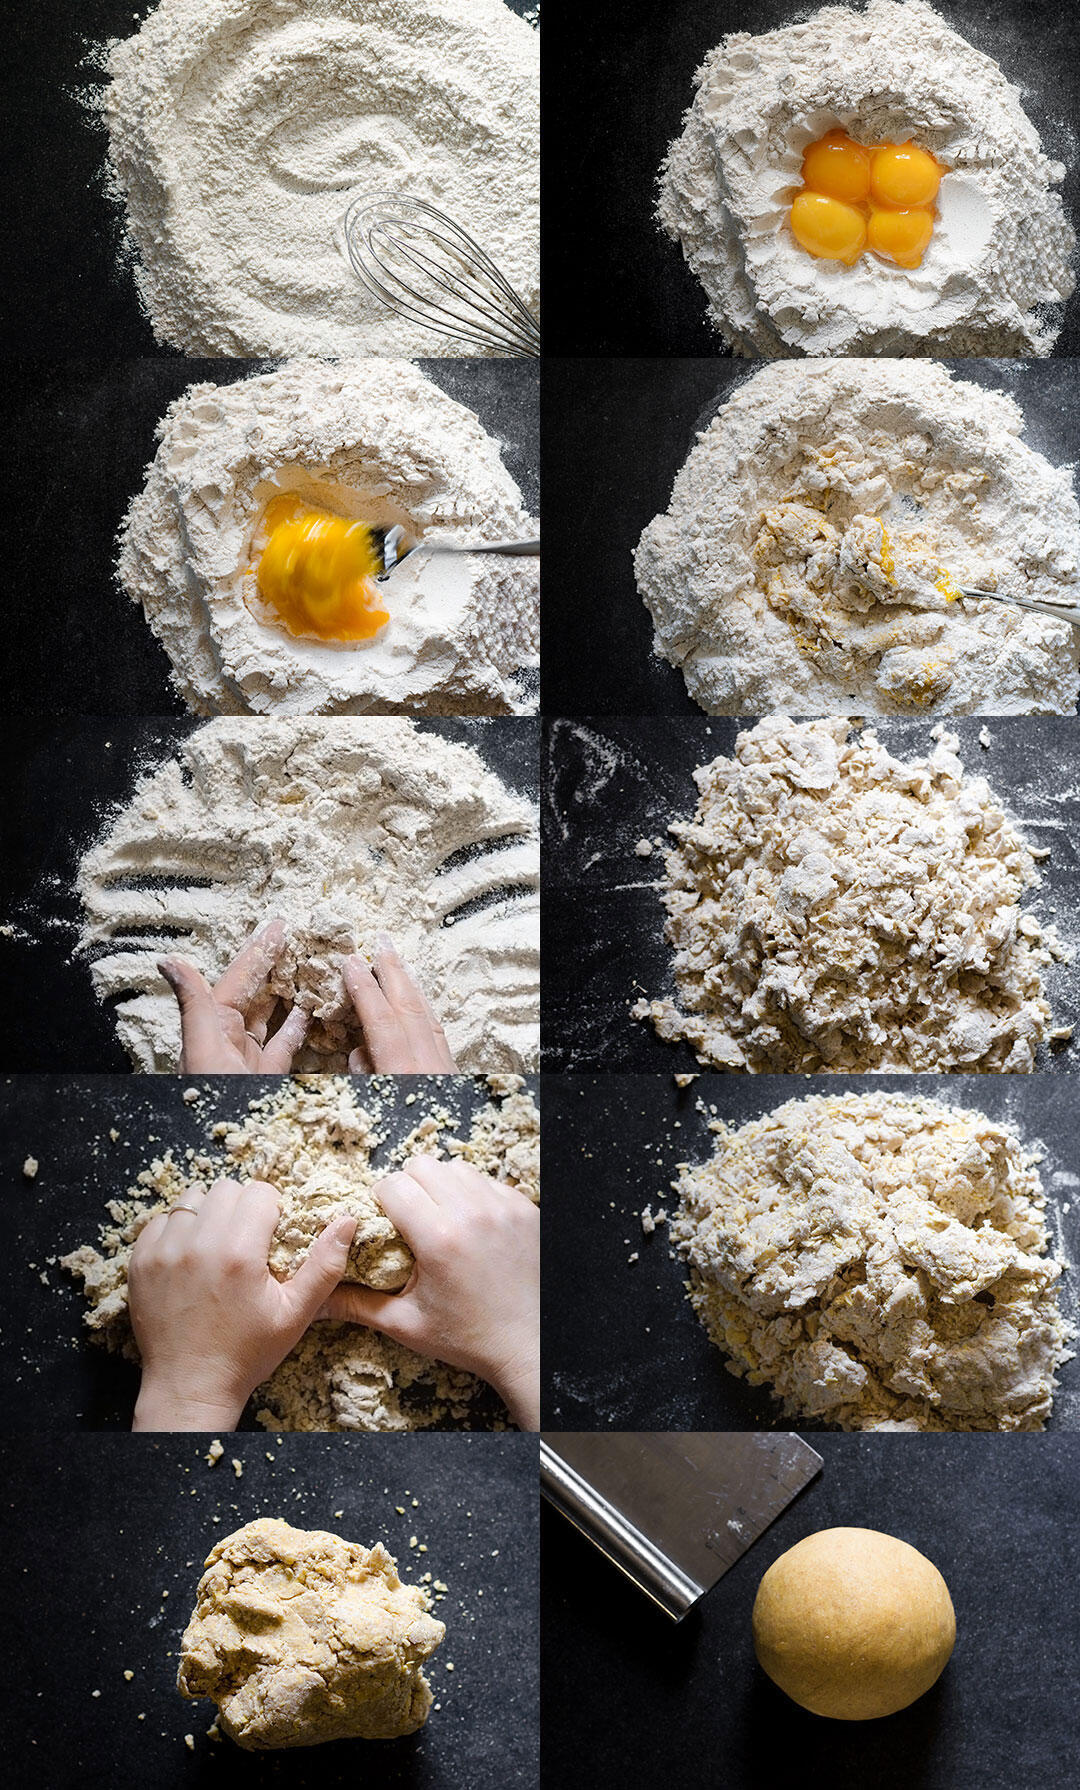
Photos 1-6 (referenced above left to right by row)
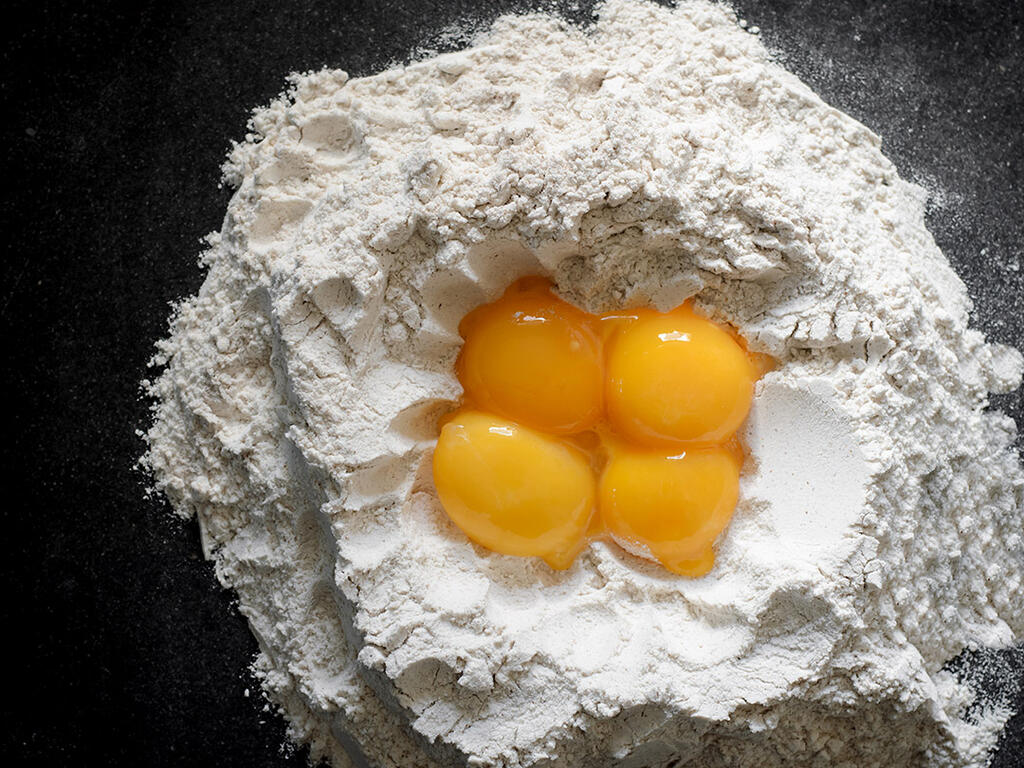
- Measure the flour, mound on the counter, whisk to combine, then scrape into a mound again.
- Make a well in the center of the flour and add the egg yolks. Note: I know the exact water and egg ratio for my flour so I add it all at once. If you're using a new wheat flour or doing this for the first time, only add the eggs during this step.
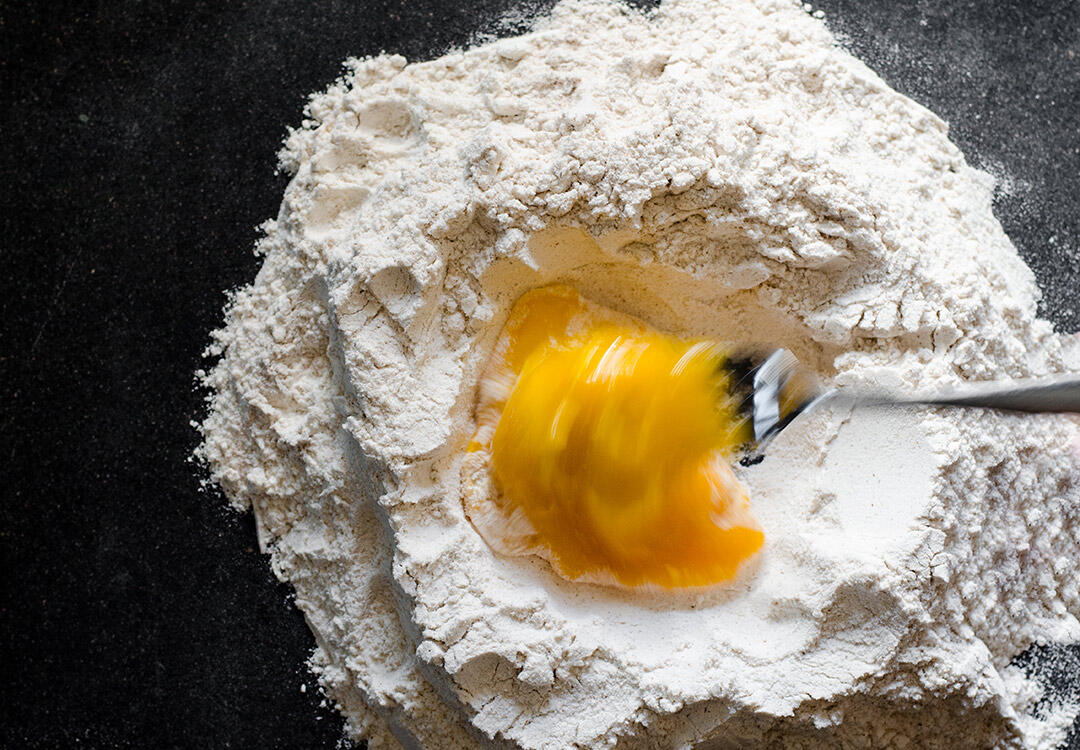
- With a fork, begin whisking the yolks while also pulling bits of flour in from the edges. Keep adding flour until the paste is too thick to whisk. The texture will be messy and clumpy and there will be a lot of dry flour remaining.
- Begin adding water 1 tablespoon at a time while continuing to whisk and mix the dough. After a couple of tablespoons, it helps to put down the fork and start using your hands to mush things around. Continue adding water until the dough is just coming together. There will and should be dry bits remaining. Note: It's important to keep track of how much water you're adding and write it down. If you have that piece of information it will be much easier to determine the hydration for the next pasta-making adventure.
Photos 7-10 (referenced above left to right by row)
- Press the dough together, flipping it over to incorporate any dry flour on the counter. Continue to do this until the dough forms a lumpy ball.
- Continue to knead and press the dough to help it hydrate and develop. Note: You will be amazed at how hydrated the seemingly dry dough eventually becomes. Be patient and check the "Recipe Tips" above for additional hydration notes and video resources.
- Knead for approximately 13-15 minutes until the dough is smooth and silky. See "Kneading Technique" above.
- OPTIONAL: This is my not-so-scientific test for hydration. Once the dry bits are incorporated and the ball is somewhat smooth, I take a sharp knife and slice partway into one of the edges. If the interior texture is relatively homogoneous, then I probably don't need any more water. If the dough still seems quite dry inside, I wet my hands and pat the ball. It's a little slimy for a second but the moisture eventually works into the dough. Ideally you don't want to add water at this point, but I have and it seems to work out fine.
- Wrap tightly in plastic and refrigerate for 30 minutes to 1 hour before rolling.