Sourdough Pancakes
RECIPE UPDATED 7/18/2025
Newsletter
Subscribe at the bottom of this page for the Chic Eats roundup. It includes new and updated recipes along with a grab bag of unique content that was interesting enough to share around the dinner table.
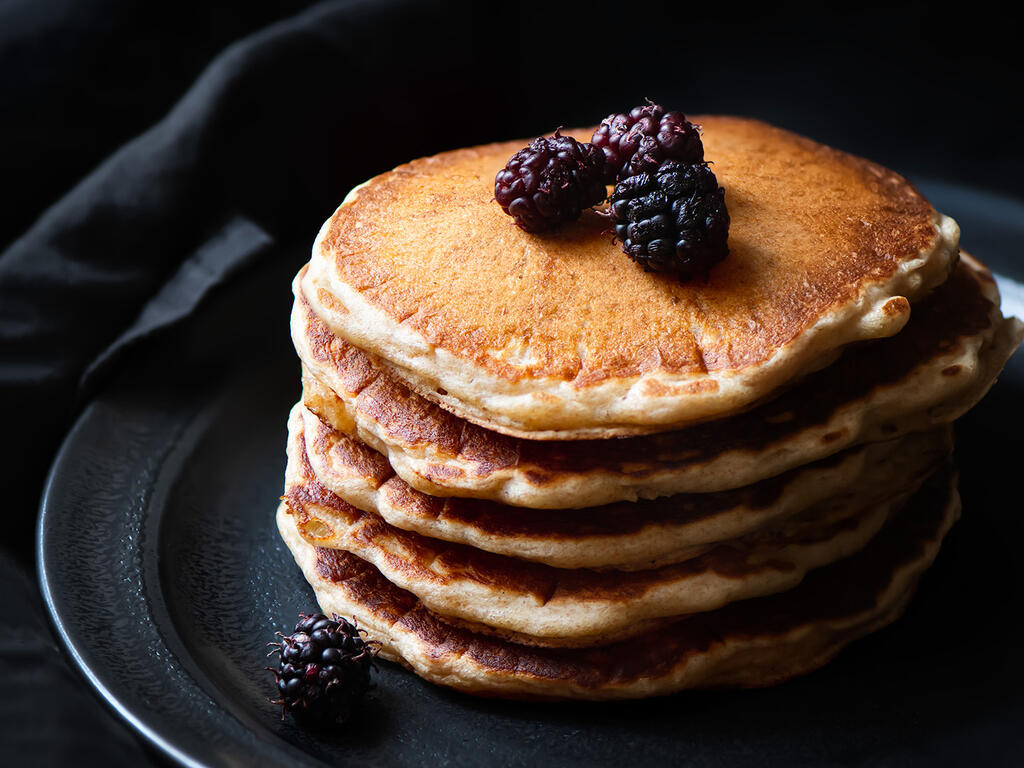
Bronzed Beauties
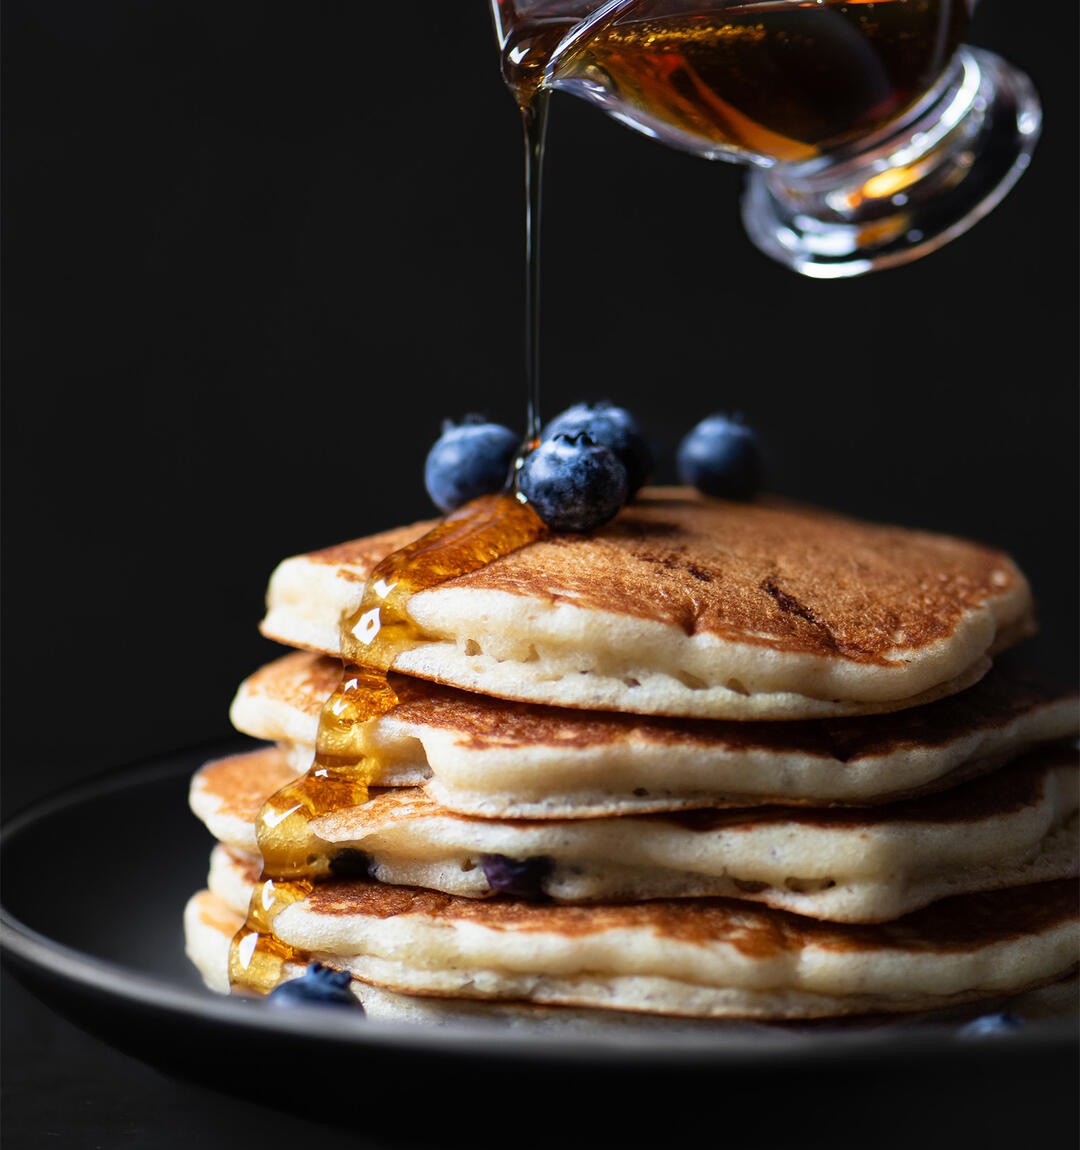
I have been refining my sourdough pancake recipe for years and this updated version is the most delicious to date. Beautiful color, airy texture, and a satisfying depth of flavor thanks to the whole grains and sourdough starter. I will be so bold as to say these are some of the better pancakes I’ve had the opportunity to enjoy. When visiting my mother-in-law, she often asks if Moomin the Starter is coming along on the trip to make her breakfast (and bread). Seems clear who the favorite in the family is.
My quest began long ago with buttermilk pancakes from Cook's Illustrated's The Best Recipe. They are very good as is the well-loved cookbook. Over time, I’ve added sourdough starter, increased the whole grain flour, and made some process changes. The result is the bronzed beauties pictured above. I recommend freezing any leftover pancakes (or make extra) since they reheat nicely. I usually eat the reheated pancakes straight out of hand though a little syrup and salted butter never hurts.
Check out How to Make and Maintain a Sourdough Starter if you don't yet have a food pet of your own.
Recipe Tips
Resist Overmixing
A lumpy batter is a happy batter. If overmixed, the chemistry at play won't be able to achieve maximum airiness. That's the simple explanation or you can read this food geek article on the subject.
Consistency
Staying with texture, the batter may seem loose when you first put it in the refrigerator but it should thicken overnight. With that said, I've run into situations with new-to-me whole grains where the batter didn't quite set up enough by day 2. You'll be able to tell when you drop your tester pancake on the griddle since it won't have much rise. In those circumstances, I just add a bit more flour to the batter and stir it minimally to incorporate. Works out fine.
Pan Temperature
This is another important element for texture. Finding the sweet spot took me a couple weekends so I'm including some tips below under "Instructions".
Why Two Days?
This recipe begins the night before you want to have pancakes. Similar to sourdough bread, the cold-fermentation gives the batter time to develop structure and flavor. There's a noticeable difference between mixing and making these pancakes same day and giving the batter time. All of that being said, same day pancakes are better than no pancakes at all so this recipe can be made the morning of if needed. I recommend extending the resting period if you go that route.
Flour Quality
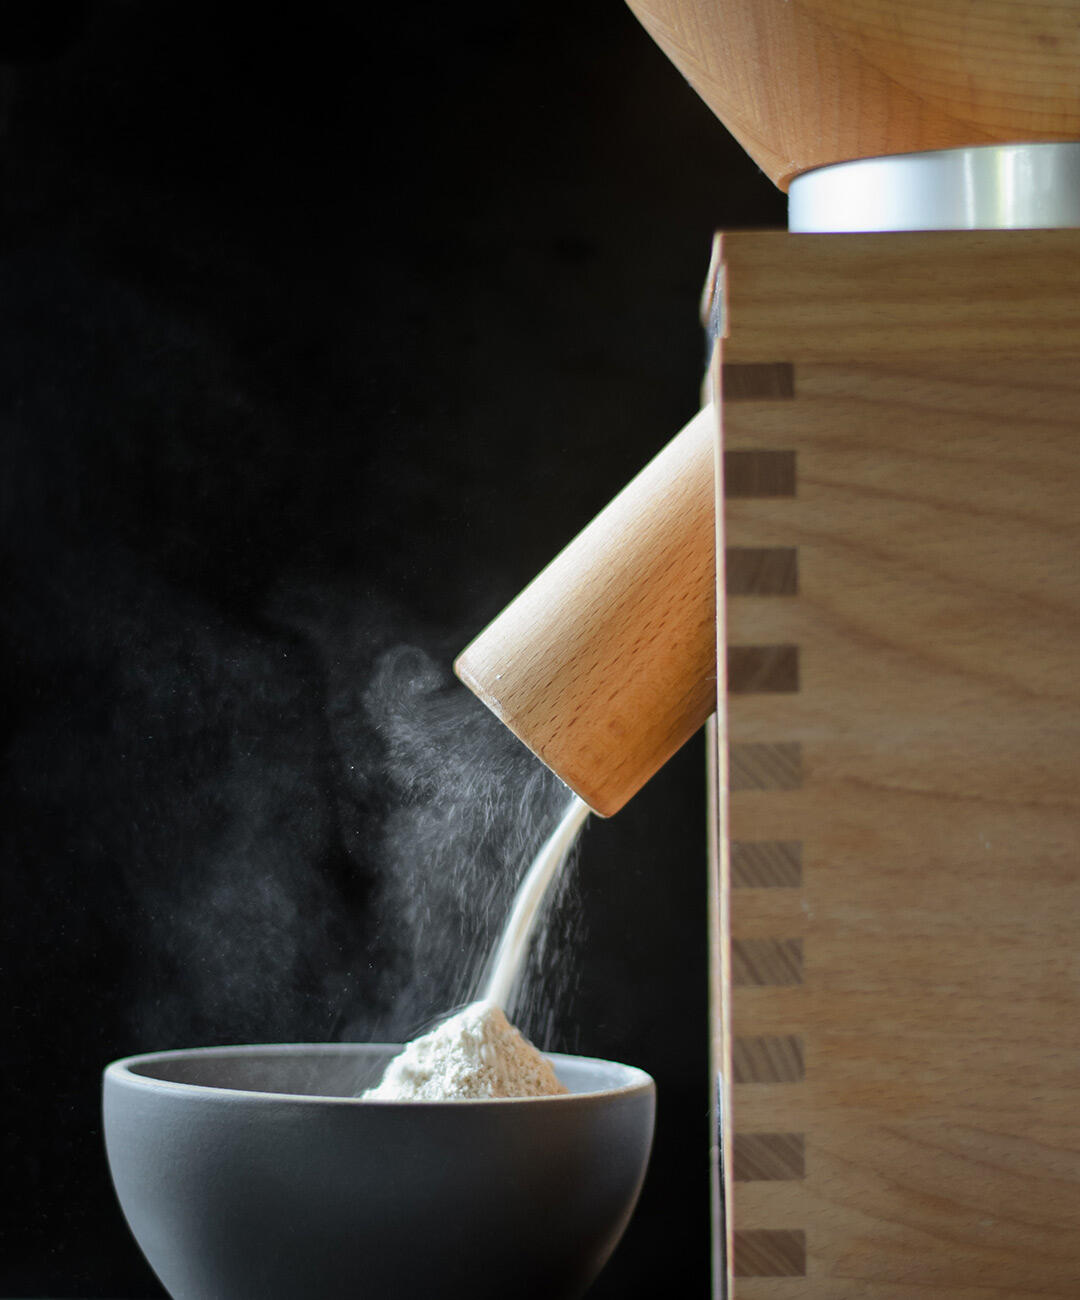
When possible, I mill whole wheat berries for this recipe. The next and equally delicious choice is to use Grist & Toll's Sonora. I've linked to my sources immediately below. It's worth giving "freshly milled flour near me" a spin in The Google to see if there are small businesses in your area that sell freshly made whole grain flour.
Fat Content
I've experimented with using 2% milk for a portion of the whole milk and, though the results were fine, they were less fluffy. Pancakes aren't health food so I use whole milk to get the best texture.
Farmers | Artisans
I make an effort to source my food from California artisans with a special focus on the Santa Monica Farmers Market. Below is a list of the folks who contributed to this dish.
- Grist & Toll // Whole Grain Sonora Flour
- Hayden Flour Mills // Sonora Wheat Berries (for milling)
- Camus Country Mill // Soft White Wheat Berries (for milling)
- Apricot Lane Farms// Eggs
- Omma's Garden // Eggs
- Schaner Farms // Eggs
Tools
- All-Clad Double Burner Griddle - Sourdough pancakes are an important part of my life (importance is relative), so this griddle joined the kitchen with my first set of quality pans. I occasionally make flat-top burgers on it as well since the pan-to-meat contact is good and there is room for several patties. If you regularly cook for a group, I imagine a double burner pan would come in handy.
- Whisk
- Wide Spatula - It took some digging but I finally found my wide spatula online. It's made of nylon (flexible hard plastic) instead of silicone and an ideal pancake turner.
- Slip-proof Bowl (also comes in a set) - I always reach for this bowl when making batter that is stirred by hand. The silicone bottom grips the counter just enough to stabilize the bowl while I mix.
- Individual Syrup Dishes (not essential, but a nice touch)
My Favorite Cooking Tools spotlights the kitchen equipment I have owned and used for years.
Ingredients
Serves two hungry people with some leftovers. If you 1.5x the recipe it feeds three people with leftovers or feeds four.
Day 1
- 58 grams / 2 ounces (4 tablespoons) salted butter Note: I'm partial to a good contrast of salty and sweet. If you're sensitive to sodium, unsalted will work fine but I'd recommend using salted butter when serving.
- 287 grams / 10 ounces whole milk
- 255 grams / 9 ounces 100% hydration sourdough starter, mature (at the floating stage)
- 18 grams / 1 tablespoon + 1 1/2 teaspoons organic cane sugar
- 4 grams / 1 teaspoon dark brown sugar
- 1/2 teaspoon vanilla extract
- 1 egg (55 grams out of shell)
- 88 grams / 3 ounces unbleached all-purpose flour Note: I use Organic Beehive from Cental Milling.
- 58 grams / 2 ounces whole grain Sonora flour Note: I use Grist & Toll's Sonora.
- 2.8 grams / 1 teaspoon Diamond kosher salt
- 2.4 grams / 1/2 teaspoon baking soda
- 7.2 grams / 1 1/2 teaspoons baking powder
Day 2
- Maple syrup
- Quality salted butter
- Optional: Handful of blueberries, banana slices, or mulberries.
Instructions
If you prefer ounces, those conversions are listed with the ingredients above. I felt it was too wordy having all of that in the instructions.
Day 1
- Melt 58 grams of salted butter then set aside to cool slightly. The target temperature is 90-100°F.
- In a large slip-proof bowl, add 287 grams milk, 255 grams sourdough starter, 18 grams organic cane sugar, 4 grams dark brown sugar, and 1/2 teaspoon vanilla extract. Whisk several times over the course of a few minutes so that the starter dissolves.
- Add the egg to the the same bowl and whisk until well combined.
- In a second bowl, whisk together 88 grams unbleached all-purpose flour, 58 grams Sonora whole grain flour, 2.4 grams baking soda, 2.8 grams Diamond kosher salt, and 7.2 grams baking powder. Sift the mixture (dumping any bran flakes back into the pile) then whisk again to combine. Set aside. Note: Sifting is a fussy step and I probably wouldn't do it on the Airstream. With that said, I take my pancakes seriously and opt to sift when able.
- Add the flour mixture to the wet ingredients and stir a few times until just barely combined but still quite dry, then add the cooled butter. Stir a few more times until just combined. Note: The batter will be lumpy and seem somewhat loose which is fine. Things will smooth out and thicken up by the time you're ready to cook the next day.
- Cover the bowl with plastic and refrigerate.
Day 2
Batter
- Remove the batter from the refrigerator and give it a couple of folds. The texture is sometimes thinner towards the bottom of the bowl so you're just ensuring everything is incorporated. Let the batter rest at room temperature for about 1 1/2 hours. Note: My ambient temperature is usually about 73°F.
- When ready to cook, preheat a griddle or large non-stick pan over medium to medium-high heat. Warm your syrup.
Cooking
- If you're making a large batch of pancakes and need to keep them warm, move an oven rack to the lower and middle positions then heat to 200°F degrees. Place the serving plates on the lower rack to warm and a wire cooling rack on the middle level for the pancakes.
- Test a generous tablespoon of batter on the griddle (do this for the front and back if your pan covers two burners). If in less than a minute the cake is dark brown, the pan is too hot. Lower the heat, wait a few minutes, and then test again. My griddle is ready when the baby cake is light brown after about a minute.
- Ladle batter on to the griddle (I have made 1/3-cup size to a larger diner style - depends on your preference) and then gently drop some blueberries (if using) on each cake. Cook until bubbles appear on the surface and then start to pop and the very edges begin to look cooked. There is a distinct change in the texture around the edge so it's easy to spot. Usually takes around 2 minutes depending on the size.
- Flip and cook for an additional 1 1/2 to 2 minutes, checking to ensure the pancakes aren't getting too brown.
- Serve immediately or transfer the pancakes to the wire rack in the oven to keep warm.
Freezing and Reheating
Since this pancake recipe is a 2-day affair, I froze some extras to see if they could be made ahead. Very happy to say that they freeze beautifully. Granted, pancakes are always best right off the griddle, but you won't find anything in the frozen food section that tastes this good.
- Cook per the instructions above.
- Cool completely at room temperature on a wire rack. Note: The rack is important since it circulates air around the warm cakes and prevents condensation.
- Tear some parchment or wax paper into squares that are slightly bigger than the pancakes.
- Stack 2-3 pancakes, adding a layer of paper between each cake. Double bag and freeze.
- To reheat, defrost in the microwave, turning once during the cooking cycle. I find the pancakes are plenty warm once defrosted. If your cakes are still cold inside, use the reheat or 50% power setting and continue cooking. It should take less than a minute at that point. Note: I haven't tried using a non-stick pan to crisp up the exterior. I suspect it may dry the pancakes out.
Newsletter
Subscribe at the bottom of this page for the Chic Eats roundup. It includes new and updated recipes along with a grab bag of unique content that was interesting enough to share around the dinner table.